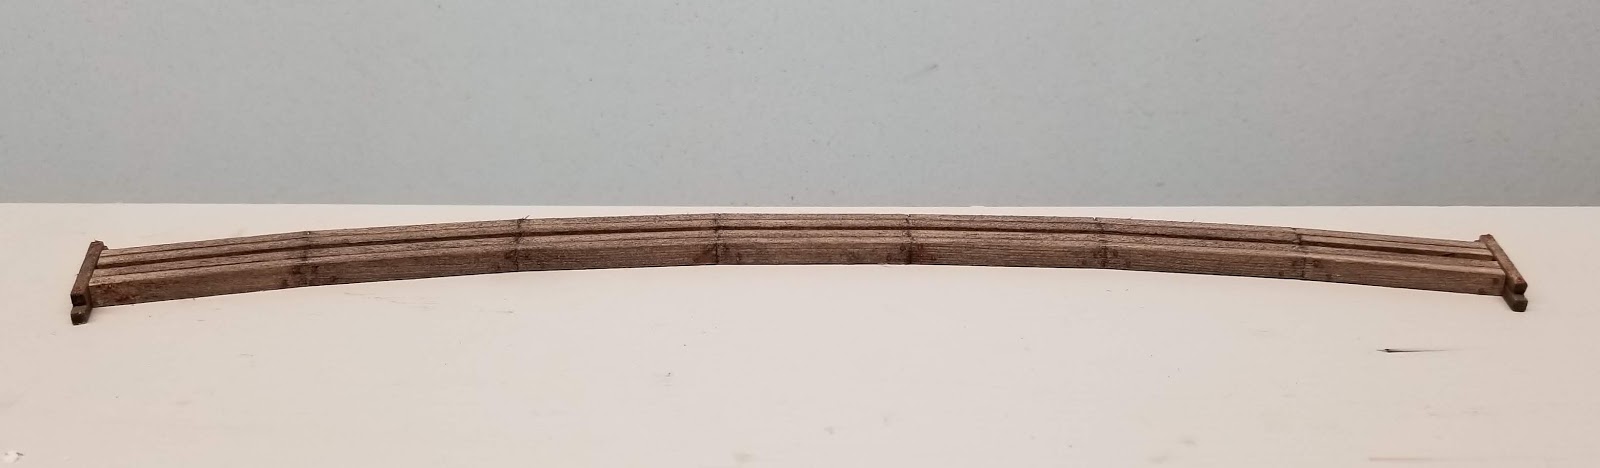
To mimic this look, I lightly scored the inside face at scale 12’ intervals and then made a deeper cut on the opposite side. Then I could gently bend each joint slightly without completely breaking it.

The inside stringer was scored at exact 12’ intervals, which is 42 mm in HO, and then the others were scored at 0.5 mm increments (42.5, 43, 43.5 mm) to account for the curve. Each pair of stringers is assembled with short pieces of scale 2x8 as spacers, and then the pairs are glued together with short 1/16" wide spacer blocks. I didn't bother to place the spacers in prototypical locations since they will be hidden by the bridge ties.
After the glue dried I trimmed the ends to length, installed nut-bolt-washer castings, and added short timber retaining walls at each end to hold back the fill at the top of the abutments.
It will be a couple of weeks before I can continue this build, but I'm looking forward to installing the trestle and finally getting started on scenery! And at some point I need to get back to that forney project.
No comments:
Post a Comment